This is not a guide how to do anything but just how I have done it. If you would like to make fairly theatre-agnostic terrain that is cheap (if not very quick) and easy then please read on. No suspense; the finished articles are at the top!


I’ll start with the basing on both. I use ordinary filler mixed with raw umber acrylic colourant in the tub and slopped onto hard cardboard or plastic with an ice cream stick (Magnum, naturally) – just try and find something that won’t flex as it dries for basing and cut it in a naturalistic shape. If I’m going arid I will scatter on horticultural grit or sharp sand when it’s still wet or if I’m trying to simulate the jungle or forest floor I will use Lardie Rich’s special mix.

One thing that I like is wood glue rather than PVA or anything else for building scenery. It dries hard with a bit of flex and while not totally clear (it has a slight resin cast) it is pretty much clear and will take acrylic paint.

On to the builds: The pillbox was inspired by a video I watched the other week but with my own particular twist – it had to be made with whatever shite I had lying around. I used some leftover foam sheet from a project last year donated by a mate and mounted it on some very strong cardboard. Note the bevelled edge on the base, I think it blends with other scenery and the table this way.

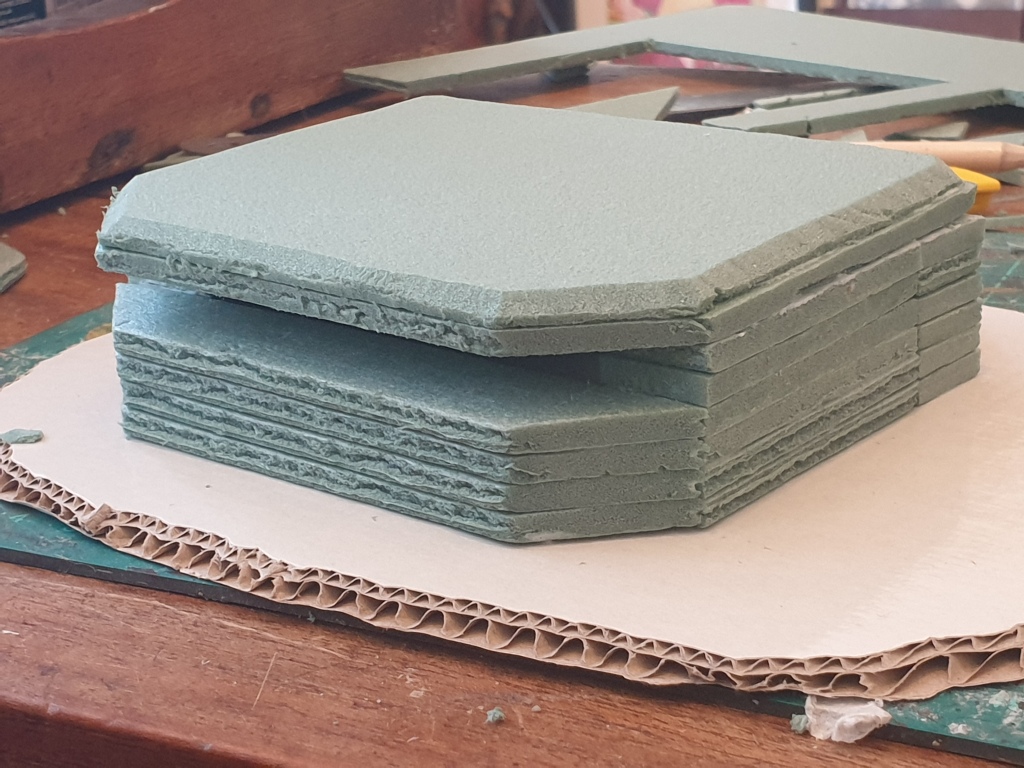
The foam was cut rough and then shaved once glued together to make it a bit more consistent. The layers of foam glued together really simulate the shuttered concrete of various pillboxes used worldwide and you see that chamfered edge and angled corner either side of the loophole from time to time. I’ve done a nice wide loop as although you can’t take the roof off (it wouldn’t sit flush) I wanted it to be reasonable that five or six guys could be lined up inside and blasting in a game of Chain of Command. At some point I am going to make a large barrel that can be slotted in to make a proper gun emplacement.

I then got the filler and sand down on the base and started painting. All I did for this was black on the interior throughout and then dark grey basecoat all over the exterior, mid grey heavy drybrush and sky grey light drybrush. Finally a little bit of ‘Streaking Enamel’ from AK Interactive on the roof and walls.

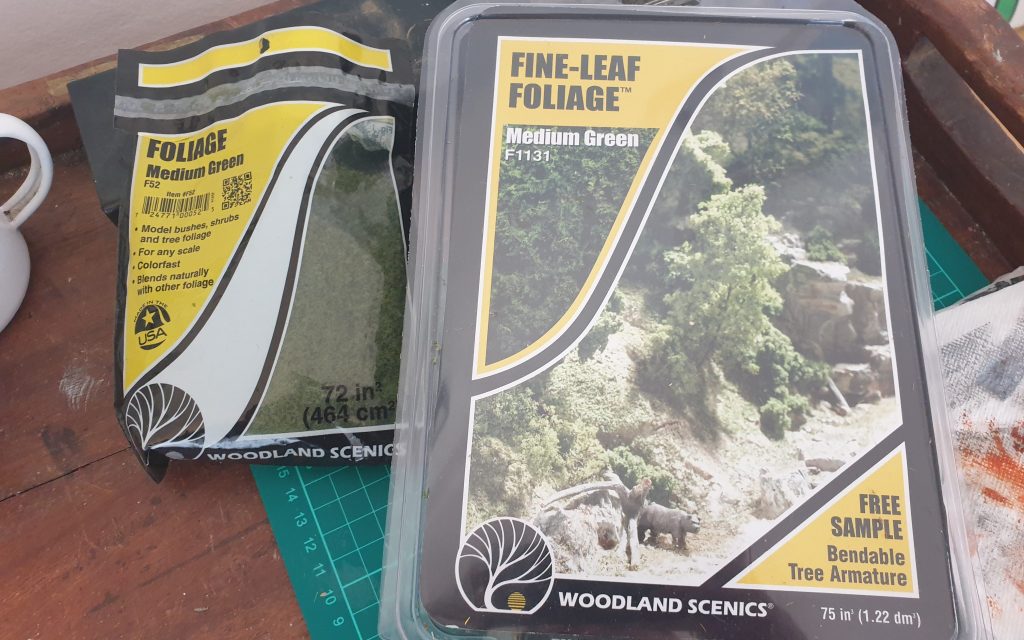
Next I thought about how Italians on Sicily might camouflage such a carbuncle and it was suggested to me that they would probably use foliage including on the roof to protect from Allied JaBos. I used the following two products; Woodland Scenics ‘Foliage’ for climbers and groundcover and ‘Fine-leaf Foliage’ for shrubs and trees.


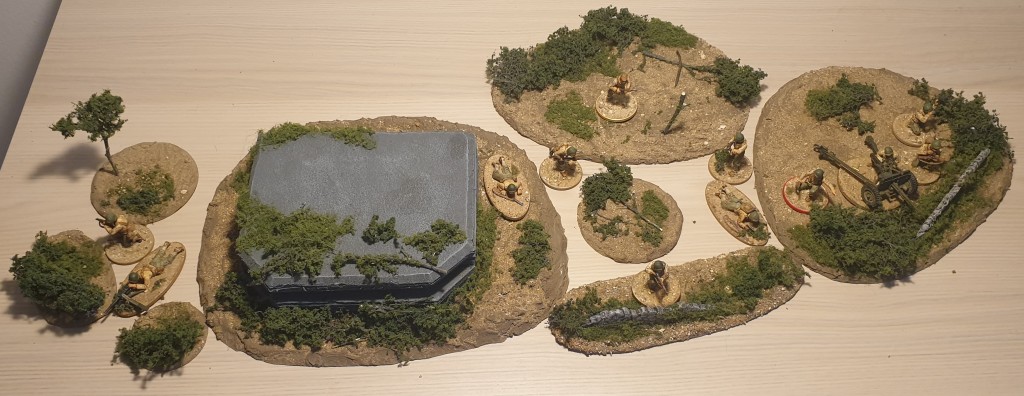
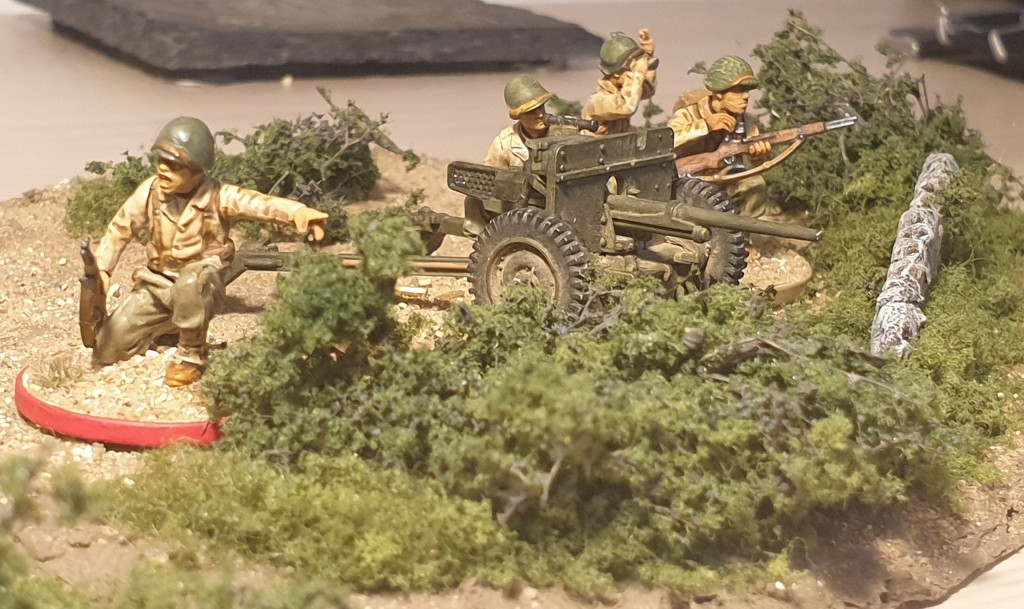
I also had a go at making some scatter terrain to be used for light cover in games of CoC but they have quite a lot of utility in other games and scenarios. Bushes are universal, after all.

On to the Pacific Theatre now. I made a hut a while ago but honestly think I made a bit of a pig’s ear of it and thin cork board wasn’t the best building material. A bit too flimsy for gaming, and particularly transport, too.
The following is a easy to follow step-by-step and shows how I put together a nice little jungle hut that would work in a variety of 20th century wargames. I bought in some corrugated card and found a vinyl wallpaper with the right texture to simulate woven palm or rattan. Cheap as chips.


I think each project took me about 2-3 hours start to finish and as I had most of the materials hanging around the outlay was practically zero. Have a good scout through the recycling bin before you get yourself down to the hobby shop!
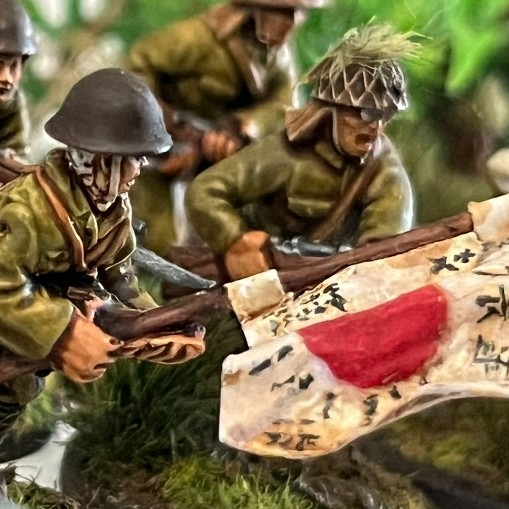
Below are a few snaps of how these bits of terrain look on the table. Hope all three of you enjoy having a go; I’m still learning but having a great time so far.


Leave a comment