How Do: Sicilian Dwelling

Lot of pictures here to tell the tale rather than me blathering. This morning I had intended to make some wire trees for our Chain of Command Sicily campaign but couldn’t find any wire. Picking up the Osprey book about OPERATION HUSKY for some inspiration I saw a nice little shack on the cover behind a burning R35…

Credit to Mr Zaloga, Mr Gerrard and Osprey Publishing. Pls no sue.

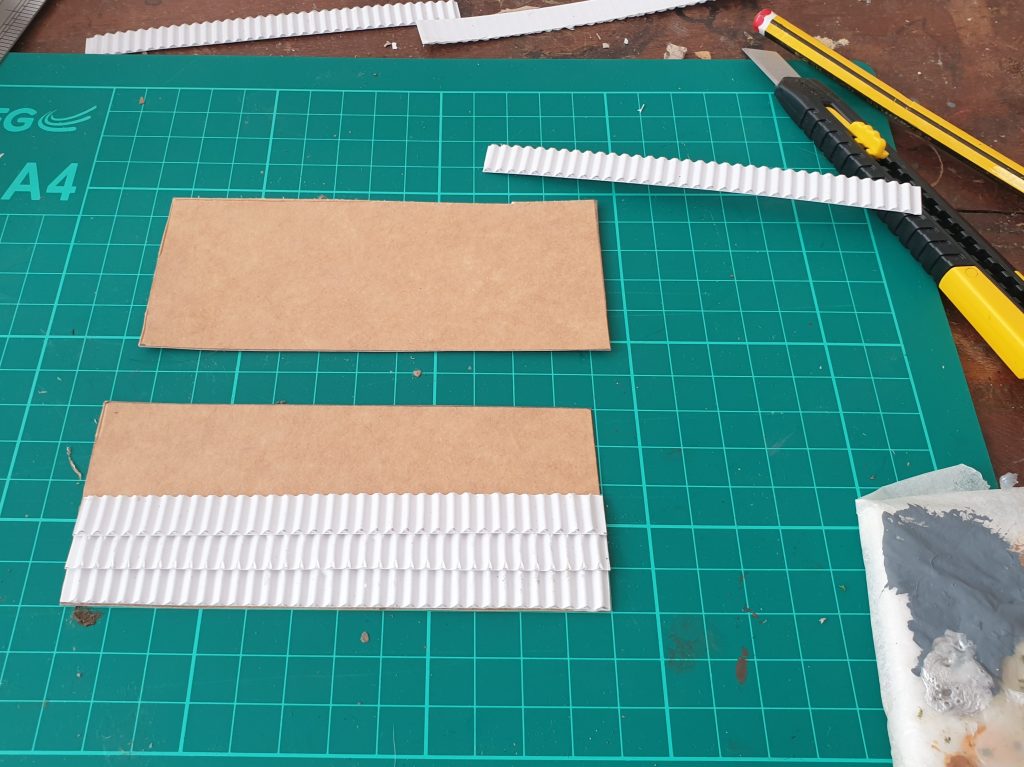
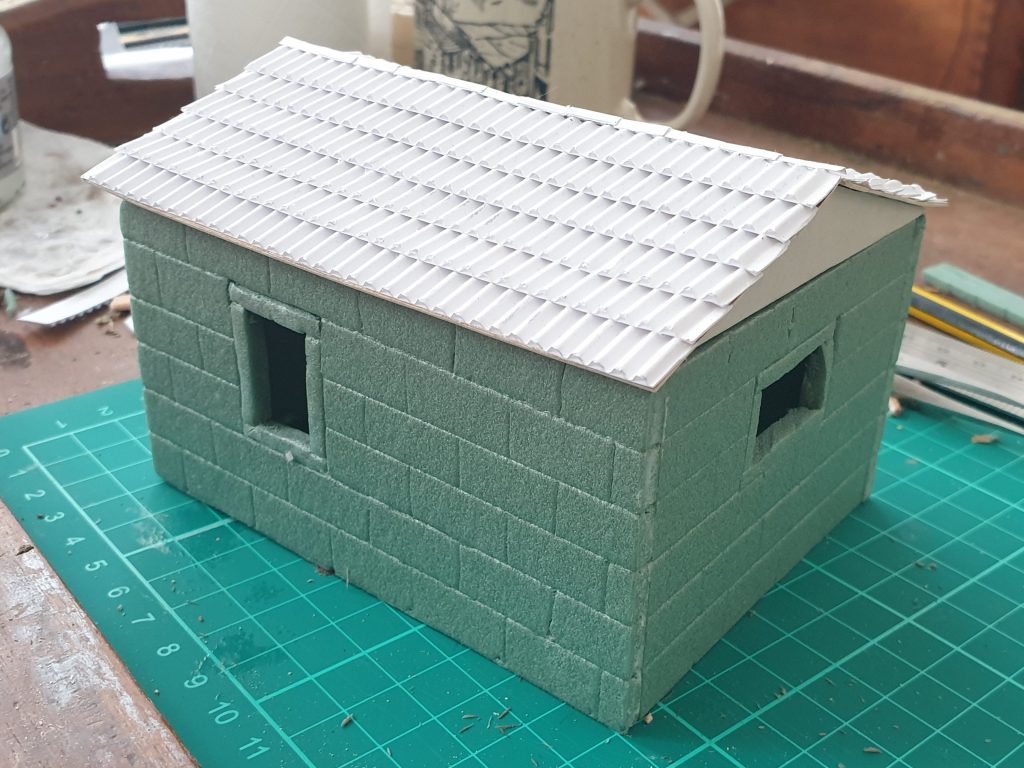
I’m hoping the build will all be pretty self explanatory for you and as before the finished product is at the top. For reference all measurements were made from when I had the two roof panels done. I put them together and checked the pitch of the roof and made two triangle struts for the ends; this determined the size of the walls and ultimate layout.

OK; here we go. You will need some foamboard or strong cardboard about 3-5mm thick, some glue (wood or PVA), a couple of matches or a lolly stick (FAB) and a sheet of corrugated paper. Oh and a few hours without being harassed by your “loving family”.

Cut the roof panels and lay 1cm strips of corrugated paper over each other to make roof tiles. Don’t worry that they aren’t single tiles, this will be dealt with later in a lazy & quick way
Cut the ends from something tough. Mine were roughly 7cm by 1.5cm
Slice a single long ridge of corrugated paper into small sections roughly 1cm long. These will make your ridge tiles at the roof apex
You can now work out how large your shack will be. Mark it out on foamboard and score in the stonework with something small and blunt-ended
You can see my method for cutting out doors and windows here. Slice a section out and then cut away an interior piece. This gives you a jamb or frame and ups the ‘realism’ a bit
A bit of chopped up lolly stick to make a smashed door
All the vertical sections cut out with apertures and frames glued in
Taking shape. At this point you can make any ‘adjustments’ required. For example; I had properly cocked up my measurements and had to cut down the walls. Note the stonework pattern has to be continued around the corners and be scored into the ends. Get glueing!

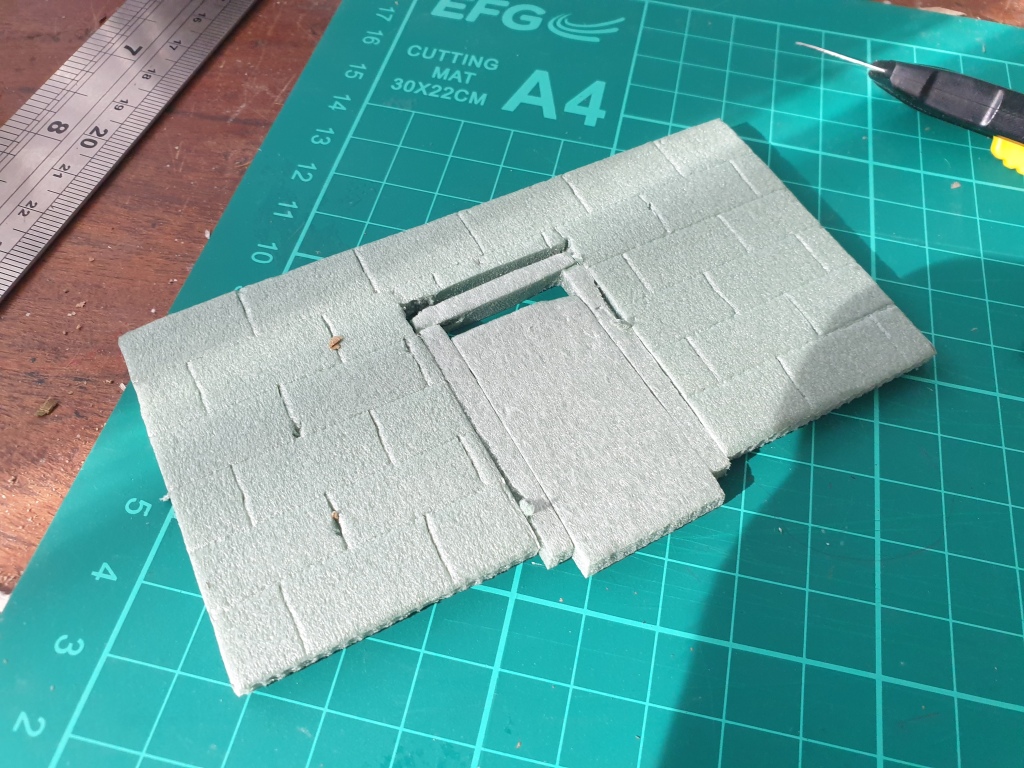
At this point you should do a blinding of PVA on the walls as this seals the foamboard and gives it a nice dressed stone texture when dry. My club mate Daniel gave me this tip.

While the walls were drying I started painting the tiles using a W&N Burnt Sienna acrylic. You can see the ridge tiles here.
Agrax will make the tiles look separate. Never fails to save me time
Basecoat in Burnt Umber and do the frames in a lighter tone to pick them out. The door has been glued into place and the walls are glued onto a small base for solidity and strength
Successively lighter earth tones build up to tan or maybe pale sand. Depends on the look you’re going for.
I ended on a light tan drybrush and then put some little blobs of grime on and dusted on some dry sienna pigment powder. Not going to win any painting prizes at a show but set me back a sweet £0.00 and only took a couple of hours. What cost of living crisis?

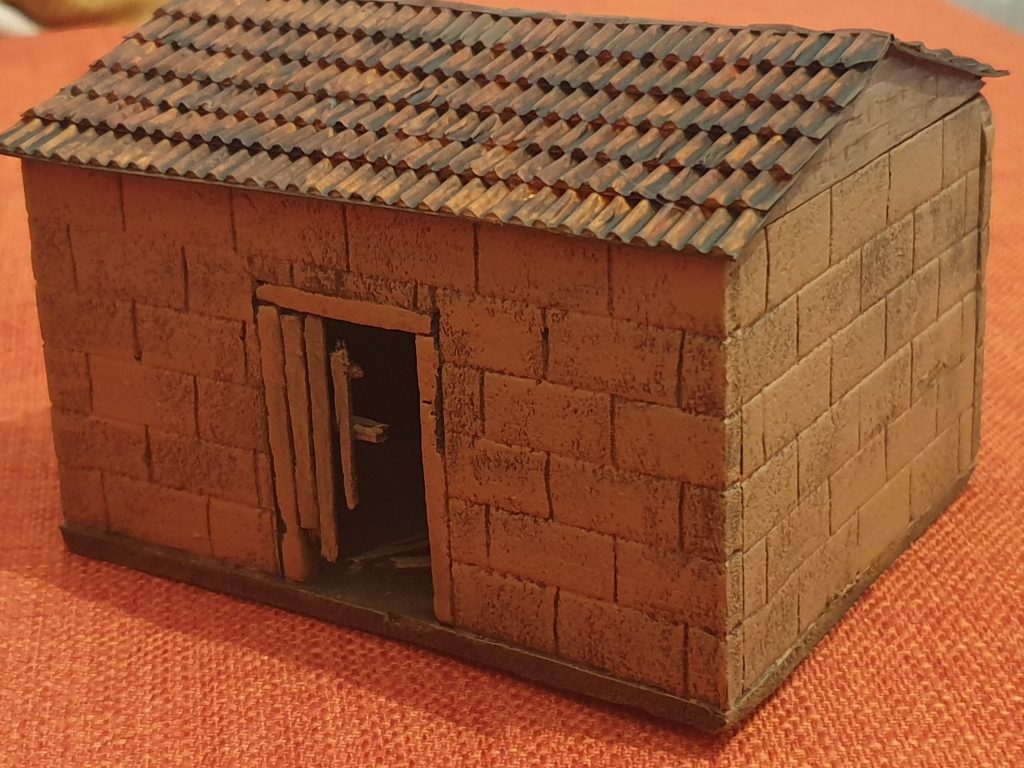
Hope you all enjoyed this as much as I liked making it. I am probably going to do a range of different structures and patches of scrub ready for the campaign which we hope to start in a couple of months. Honestly, I don’t see that this little house would be too out of place in a medieval or ancients game, too. Mustn’t forget those trees, though!

Leave a comment

Design a site like this with WordPress.com
Get started